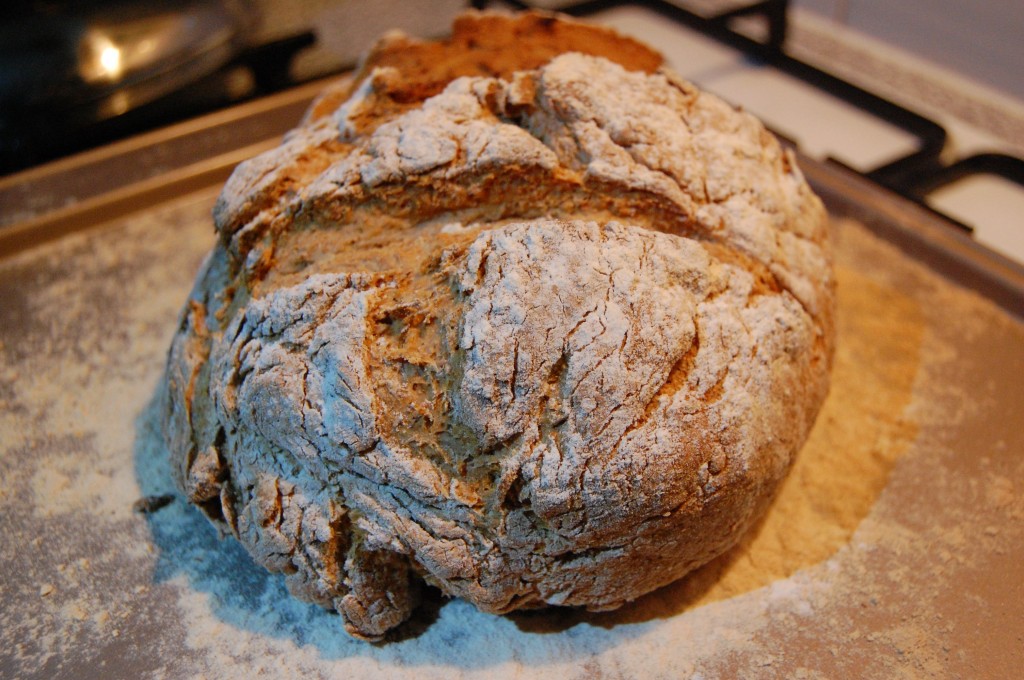
I was thinking about the fact that I am constantly saying bake some fresh bread to go with the soup recipes I post, but baking bread was a very daunting thought for me so I am sure that it is a scary thought for some of you too. I thought it only fair to show you that I actually do make the loaves that I post with my soup recipes. In order to set you all at ease I picked the bread I love to make so that you can see just how easy it is… soda bread. When I first made soda bread I took Hugh Fearnley-Whittingstall’s Classic soda bread recipe and made that, since then I have totally changed the recipe through experimentation. So, if you want the basic soda bread bake Hugh’s, if you want a super tasty and equally as easy soda bread make mine. This is a bread that is about speed and not how it looks but how it tastes and soda bread always tastes so good. So try it, here is how…
What you will need:
- 250 g of plain flour (keep the bag handy for dusting the tray and work surface)
- 250 g of strong wholemeal flour
- 1 tsp sea salt
- 2 tsp bicarbonate of soda
- 200 ml of natural yoghurt
- 200 ml of milk (I use 2%)
- a good squeeze of honey
- a baking tray
- a small whisk
- a good sized mixing bowl
- measuring jug
What you need to do:
- Heat your oven to 200ºC/390ºF- You want your oven preheated before you pour your liquid into the flour mixture. Heat the oven while you get your other ingredients ready.
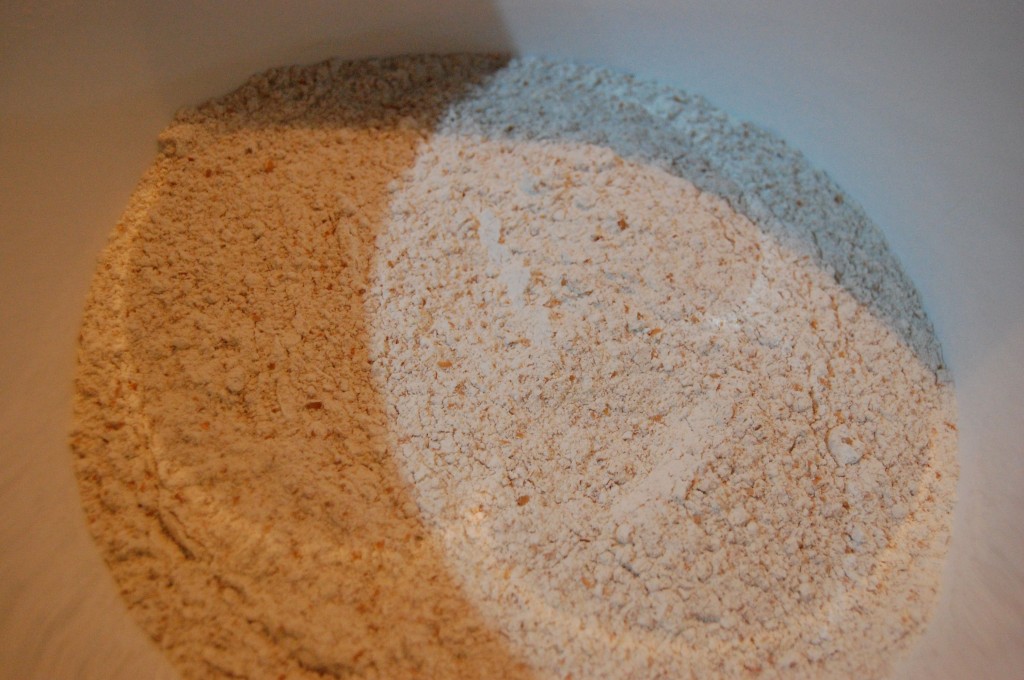
- Get your big mixing bowl and mix your dry ingredients together (2 flours, bicarb and salt). There is no need to sieve the flour as whole meal doesn’t go through. Once these ingredients are thoroughly blended set the bowl aside.
- Next, get your measuring jug and whisk ready.
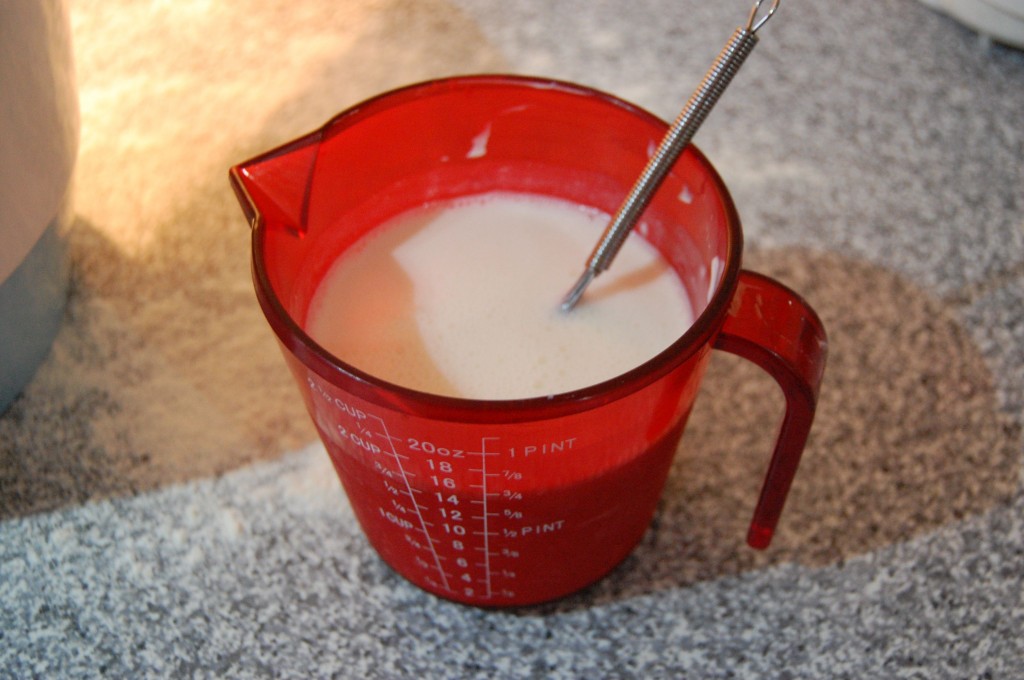
- Put 200 ml of natural yoghurt in the jug and give a light tap to make sure the yoghurt is settled and even.
- Pour in 200 ml of milk.
- Add a good squeeze of honey to the jug (we have used maple syrup as well).
- Whisk it up. If you don’t have a baby whisk or are like my Husband, just use a fork.
- Once this is all well combined it will appear to be just a nice smooth thick milk, set it aside too while you wait for the oven to get fully preheated.
Once your oven is heated get ready for some fast action. Soda bread is not meant to rise and it is not meant to be kneaded into oblivion. It is a quick quick process so make sure you are completely ready to go.
- Lightly flour your baking tray and your work surface.
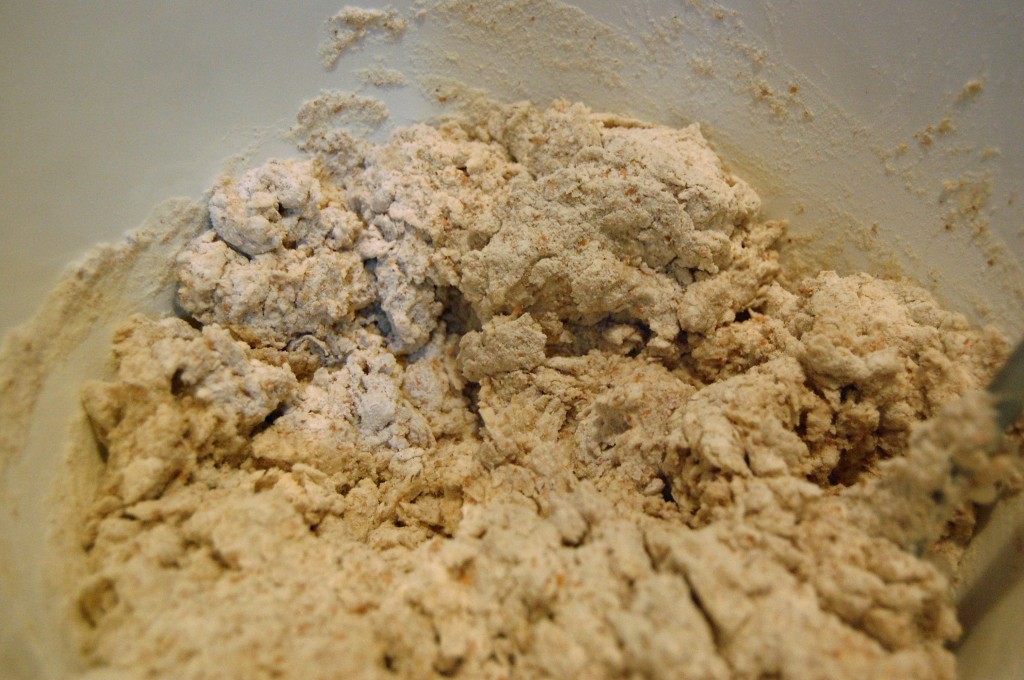
- Pour the liquids into the flour mixture.
- Use a spoon to begin mixing. Only mix well enough to get the ingredients to start to bind together (approximately 30 seconds). Through trial and error Jamie and I found that starting with the spoon instead of your hand was easier and less ingredients were stuck to your hands when your turned out the dough onto the work surface.
- Once you tip your dough out onto the floured work surface get a move on… knead quickly. There will be a lot of flour at the bottom of your bowl that didn’t get wet yet… tip it out too and it will mix in.
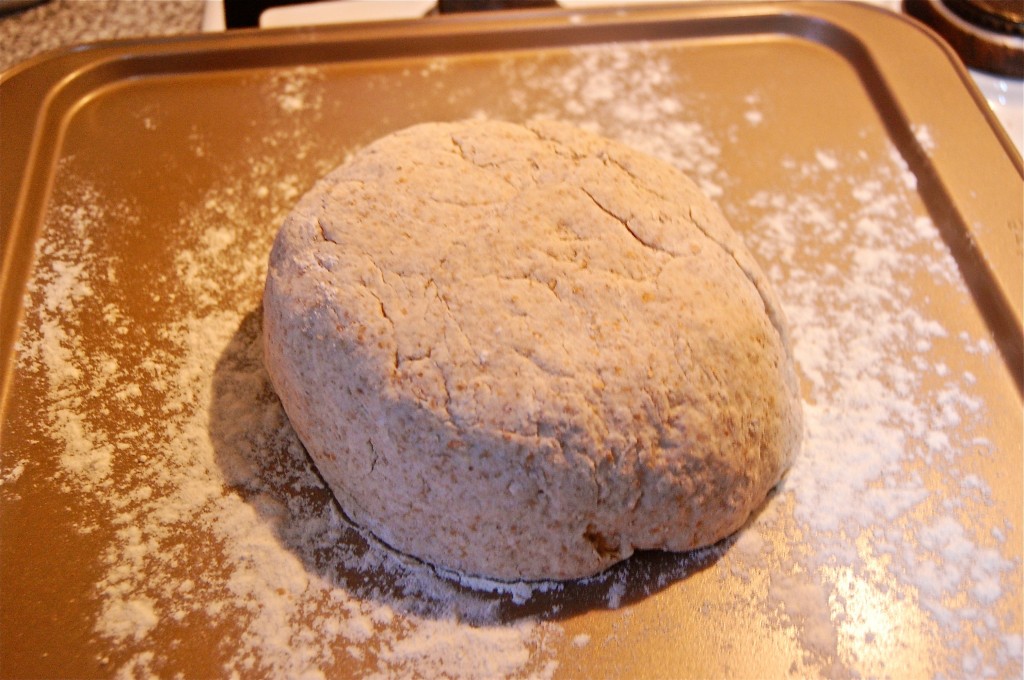
- I flour my hands and sprinkle flour on top of the dough and then fully combine the ingredients with my hands in less than a minute. I spin it, roll it, flip and smush it all together. No stretching it out like a traditional yeasty loaf.
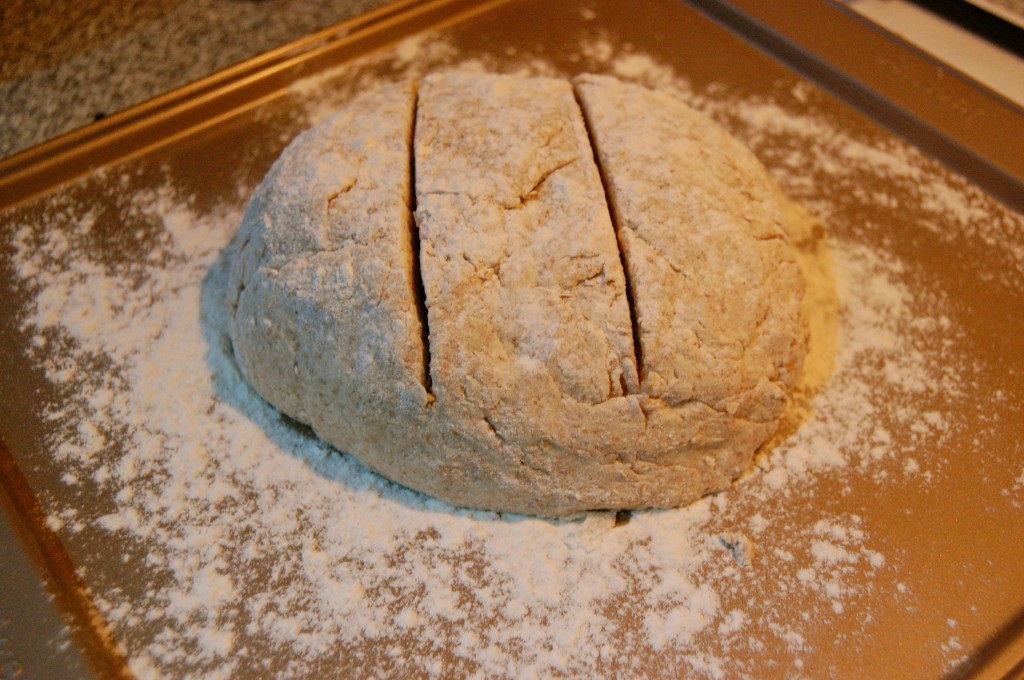
- I form my dough into a slightly oval loaf and place it on the floured baking tray.
*** If you need a visual tutorial watch Hugh’s Bread episode on YouTube. The soda bread is in the first few minutes, once you get through watching the 4 commercials that YouTube makes you endure it is worth it to watch Hugh. This whole episode is what got me brave. I love making bread now because of Hugh. I don’t think you will want to stop watching when the soda bread is finished.
- When the dough is on the tray lightly sprinkle flour over it and score it. I do two slashes across it. The finished bread ends up with less pointy bits of crust than a cross cut did.
- Once the bread is ready to go place it in your preheated oven for 40 to 45 minutes. This is usually when I make the soup. 😉
When you pull the bread out of the oven you have a choice to make… crunchy crust or softer crust. If you want it crunchy just place it on a cooling rack and leave it. If you want your bread softer then wrap it in a clean dish towel. I have a towel from my Mom at home in the USA designated for bread use only.
I prefer the bread warm just out of the oven with butter. Jamie prefers it cooler when we have it with our soup so, I have been making it a little in advance in order to give it time to cool down a little.
What ever we don’t eat at dinner will go in a baggie overnight and then makes the most excellent toast in the world. This is so good with some apricot jam or marmalade courtesy of J’s Mum. Jamie is a traditional man so just butter spread for him but still it is fabulous toast! This loaf does not last long in our home, we usually eat it in 2 days.
Since we started making bread we have purchased maybe 3 loaves of bread from the store. Emergency, I need toast now because I am sick bread. We have saved money and really have learned to enjoy making bread at home. Jamie is the 5 hour bread maker but being the instant gratification girl that I am, I am sticking with playing with the soda bread.
So now.. go on… roll up those sleeves and get baking. You can do it! Trust me! You will be so pleased with yourself when you can serve up a fresh homemade loaf of bread to go with that meal. Let me know how it goes. x heather
